In 2021 SaxSeat began as a successfully funded Kickstarter that actually delivered as promised. I was a backer and very excited when the emailed notification of the delivery came. I promptly unboxed and discovered that I had received exactly what was promised. A well made and sturdy seat with a arm to support my saxophone. It’s not often a Kickstarter campaign will deliver so my hopes were high.
Overview + Pros
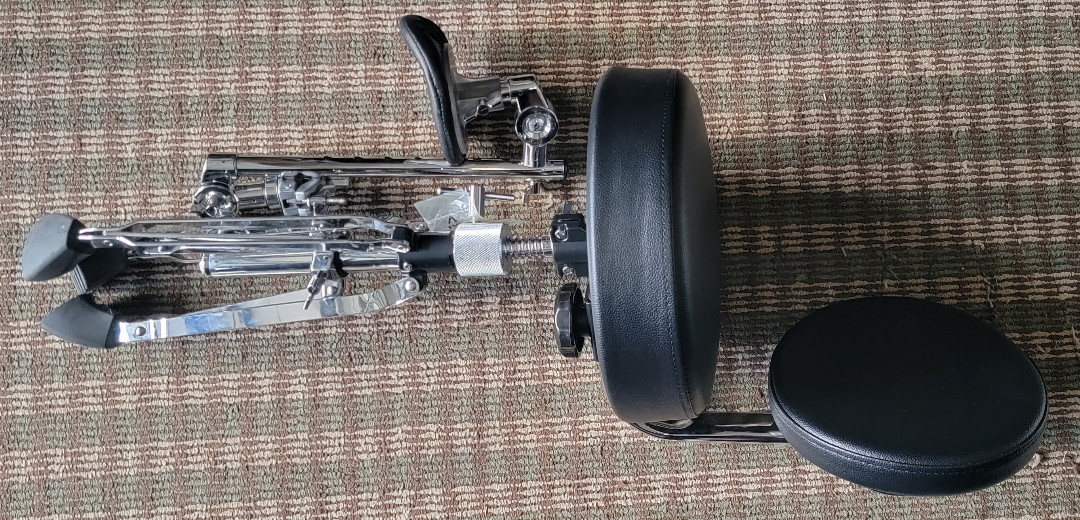
SaxSeat is at its core a comfortable leatherette covered drum throne with a unique arm that can be positioned to support the weight of a saxophone while you play it. The arm can be positioned to support straight and curbed instruments. the flexibility, as claimed on their website, allows the seat to accommodate nearly any person and all common saxophone family as well as some brass instruments. The seat has a firm but yielding cushion as well as a adjustable backrest. Its rubber feet seem non-marring and should not mark the stage, should you use it for performances. It’s construction is mostly of thick gauge steel and seems robust. The seating position encourages good posture adjusted correctly.
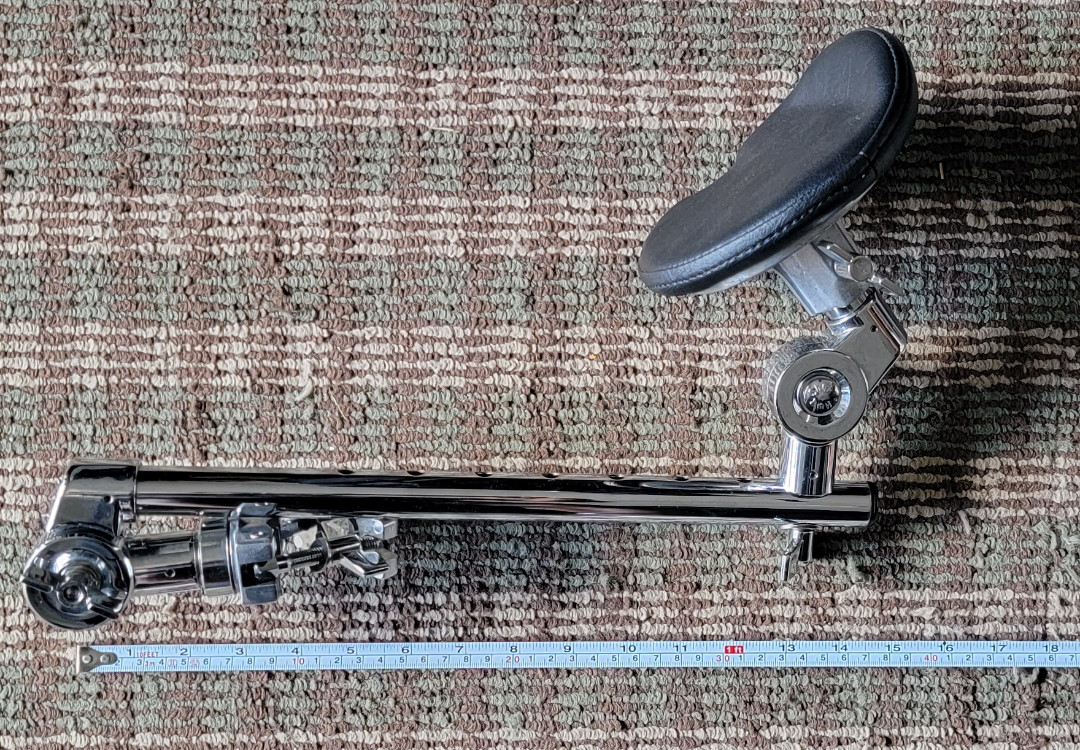
The arm of the SaxSeat is really where the difference lay. It has 2 joints which let you place the padded platform at different positions to accommodate a multitude of woodwinds and some larger lap held brass such as tubas. The clamp side of the instrument arm clamps to the seat post of the included ‘drum throne’ either at the threaded portion or at the smooth section of the seat post receiver depending where you need to place the padded platform. The clamp end grips well and did not more from it’s clamped position on the throne at any time while i was using it.
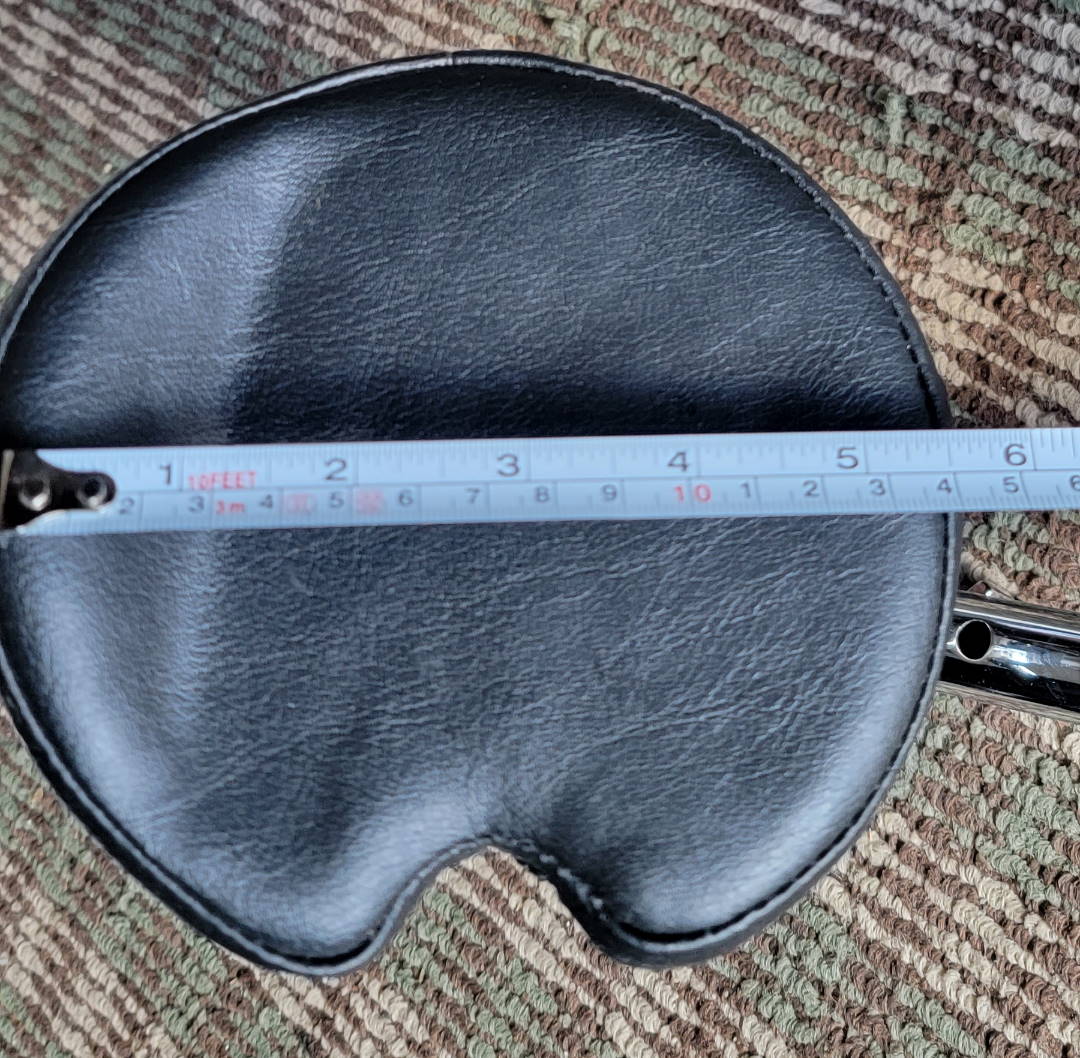
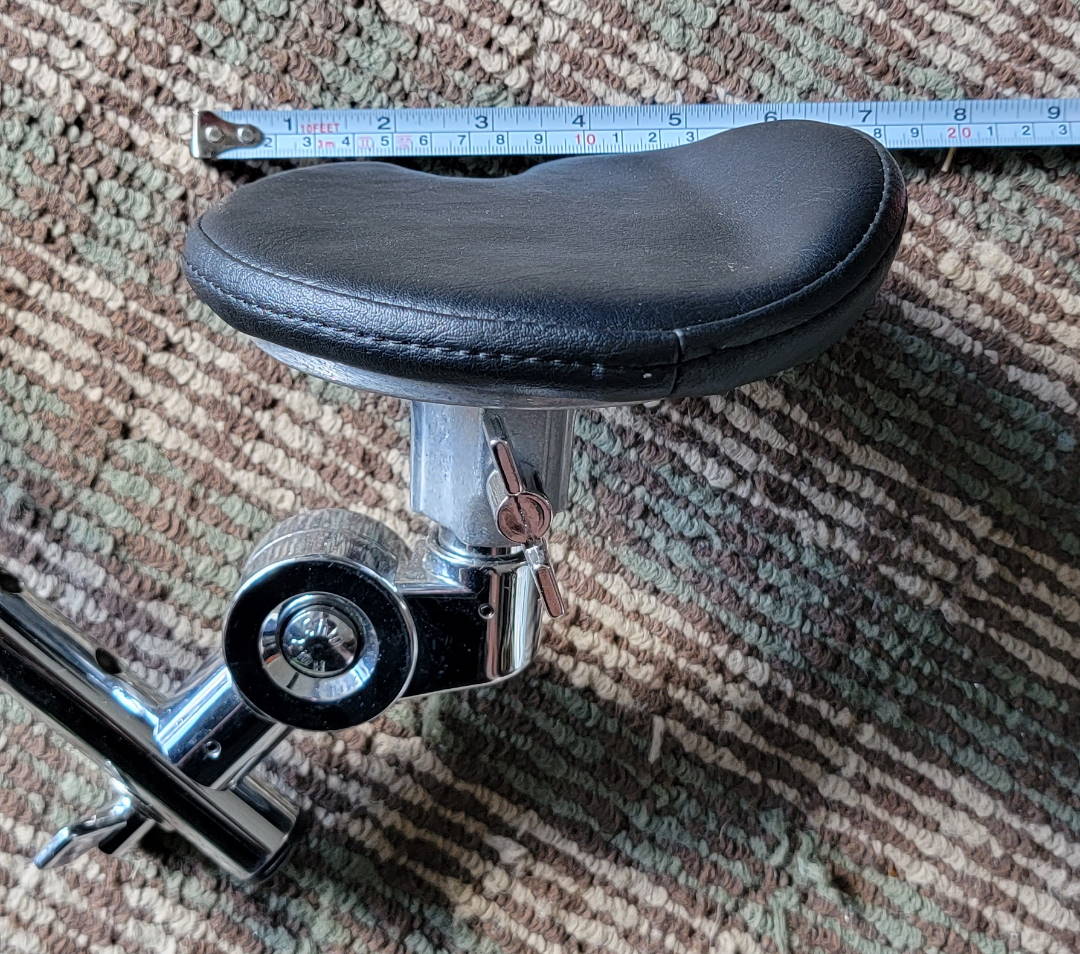
The saddle on which your instrument bell or bow will sit measures 5″ (140mm) x 7″ (180mm). This is more than enough for your instrument to have a comfortable and secure perch as long as you angle the lip of the saddle to catch your instrument from sliding. The saddle pad is leather or leatherette and quite soft. It’s certain to not damage your instrument finish.

Cons
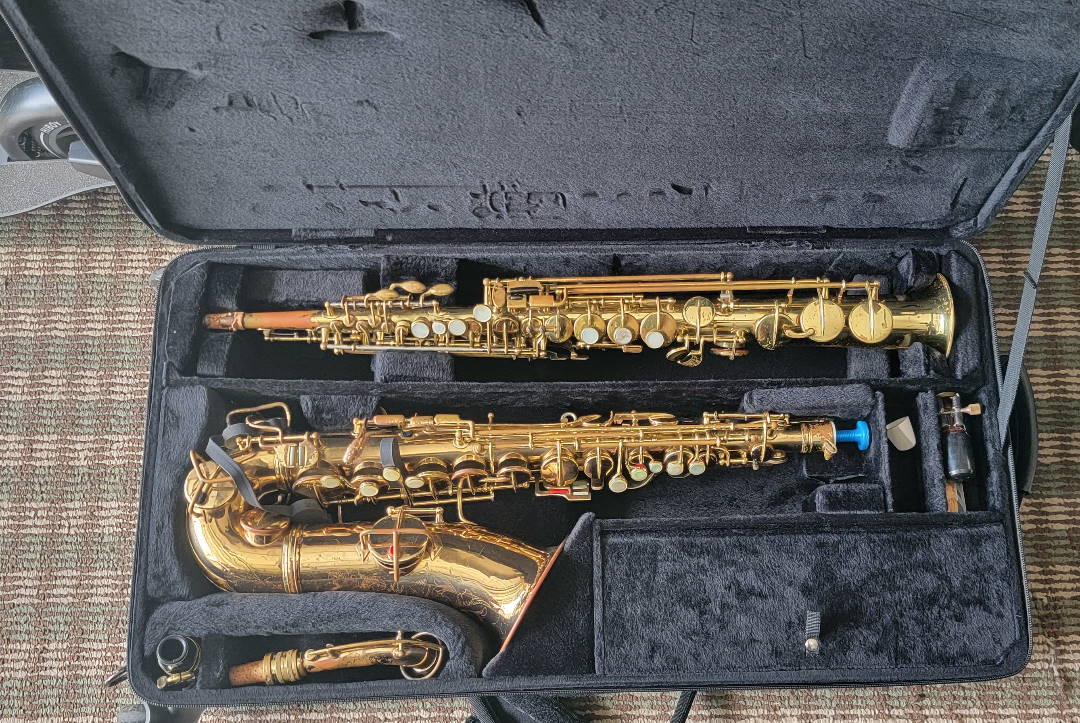
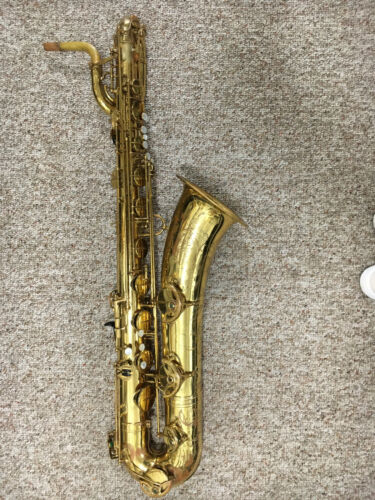
Now let’s talk about the elephant in the room. That elephant is that this seat and arm combination is heavy. How heavy you ask? The seat with backrest and arm attached weighs in at 23lbs (10.4kg). That may not sounds like much but lets compare some weights. My Yanagisawa low-A bari in a lightweight SKB case is 28lbs (12.7kg). My dual alto/soprano case by Protec weights 22lbs (10kg) fully loaded with my 1933 Conn New wonder alto and vintage Yangsiawa soprano. Yes, this seat weighs as much as 2 vintage horns combines and nearly as much as a baritone saxophone in case. Yes, this is heavy duty equipment.
It’s this weight which makes the complete setup absolutely ridiculous to carry about. When I play big band gigs where I need to bring my doubling horns (Bari, alto, soprano, flute, clarinet) and my support equipment this seat is just too heavy and unwieldy. For example, for a Ray Anthony type gig I will bring: Baritone, Alto, Soprano, clarinet, flute, music stand, Hercules Baritone stand with alto attachment and soprano peg, Hercules Clarinet stand with Flute peg. Thanks to compact cases with wheels and d-rings as well as a large backpack I’m able to carry this load in one trip. This seat tosses that right out the window.
The seat came to me in a well designed box and padded perfectly. No damage was found and the assembly was simple. What wasn’t included when I got my backer reward was a case of any kind. Without a case this heavy piece of equipment requires at least one of your hands to carry and it has natural pinch points all over. This thing needs a case with arm strap if you want to take it with you on the go.
Currently the SaxSeat crew advertise the arm alone as a tool you take with you to attach to any chair at your disposal. I do think that most seat found on stage should accommodate the sax seat. The arm alone weighs only about 3.4lbs (1.5kg) so will fit in most gig bags if you remove the saddle. The problem with this is that the clamp on the end of the arm can mar or otherwise damage the finish of the leg of whatever it’s attached to. The seat and arm is a combination of chrome plated steel and stainless hardware. This is fine with the two surfaces are the same hardness but anything softer and you’ll find you’ve done unintended damaged to the seating on the stage. So I’d recommend if you want to use the arm just pair it with the sax seat proper the way it was intended.
The SaxSeat arm suffers from being both too adjustable and not adjustable enough for my body. The arm has adjustment holes along its length where you can move the saddle along it’s length. My primary adjustment issues came when I needed to move the saddle just 1 half hold up o get the perfect poosition. With the saddle mount being bolted through the arm bar there’s no way to get partial adjustments. I wish As such i couldn’t get the arm adjusted for use with my baritone or bass which for me are very similar in positioning. Had the SaxSeat developers used a clamping system for the saddle I think it would allow for infinite adjust ability on the saddle position and more fine tuning of the comfort position.
Lastly, the finish is too shiny. Yes, this could just be what they sent for KickStarter backers. For some it’s not an issue but for me a dark colored frame as they show on their website. The dark color will help to hide it on stage. instead it’s a shiny piece of butt jewellery dancing in the stage light. Cool but not something I want to show off.
Conclusion
This seat is somewhat niche and better suited for a life in the studio or rehearsal room. it is priced like a high-end drum throne and i think it’s retail price is good. Though it’s heft and lack of case makes it superfluous piece of equipment at a gig where seating can be reasonably expected. It does do what they say it should when adjusted properly. It will take the load off the player and place it into the seat. That’s great in a studio setting but carrying this seat to gigs just places the load of the seat back onto the player. Will I use it where i rehearse? Yes, but I won’t be lugging it along with me as I gig. I think this seat is best in a rehearsal space and should be treated like the expensive music stand but for working musicians you probably don’t want this thing weighing you down.
 Whether you are new to the baritone saxophone or just discovered its sound is your voice and want to play one we can all use a bit of advice when it comes time to pick our axe. The same advice given for choosing the smaller horns apply to the baritone with a few exceptions and baritone specific constraints. In the end choosing the right baritone for each player will be a matter of personal taste but with a bit of guidance you can be confident in the choice you are making.
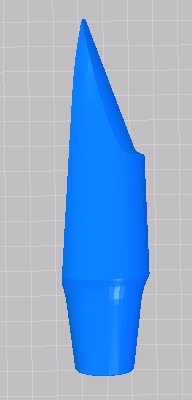
 Whenever i hear a young musician asking for opinions on what their first mouthpiece upgrade should be when moving from a classical setup I find myself suggesting a proper rollover baffled mouthpiece. While it won’t have the pizazz of a high cliff baffled like a Guardala or the novelty like a Strathon Adjustone, what it will have is the flexibility to allow a young player to find their personal tone.
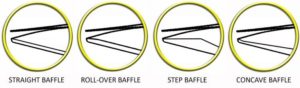
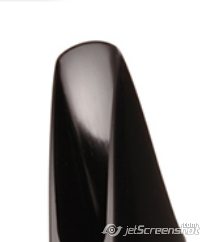
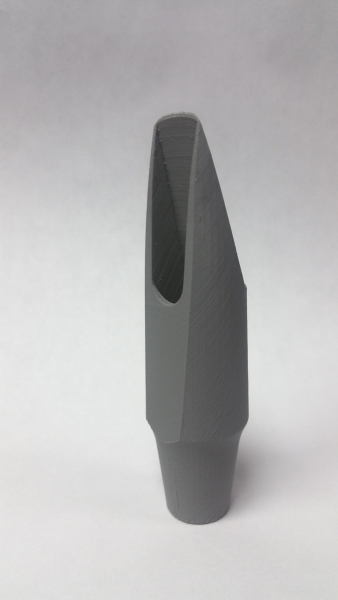
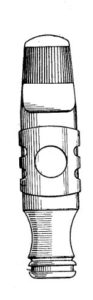
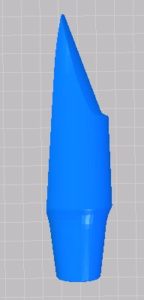 From first glance this piece should be quite easy to recognize. If you have play classical music in school then this rendering should being back memories of the Creston Sonata. The designer based this design from the Selmer S-80 mouthpiece complete with square chamber.What stood out for me was the facing curve look deliberate and familiar. This means nothing until it’s printed but there are many other mouthpiece designs that have good intention but no knowledge behind them.
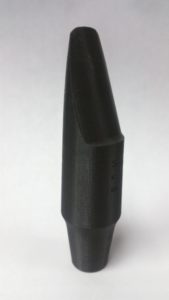 This piece was coarse to the touch because I printed with a really low resolution. When the mouthpiece completed printing and was removed from the plate i remove any lingering plastic detritus that stuck around and then slapped a reed on it. I chose a #3 Rico V5. I found that strength can play on almost any mouthpiece. The designers attention to detail was perfect as the mouthpiece immediately played. The tone was a bit airy as the table to reed seal had many small leaks due to the coarse layer resolution. Despite this it played and responded mostly like the S-80 should. Bolstered by this discovery I set out to print a better version and improve playablilty. The next step will be higher resolution. With high resolution come longer print times.
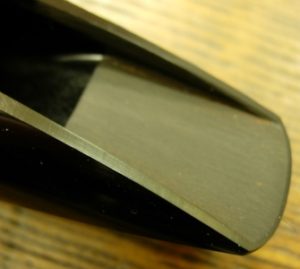
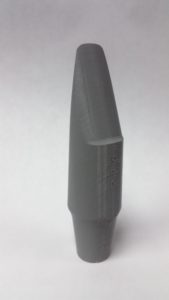 The original print took about 6 hours to print. The predicted print time for this mouthpiece at the highest resolution the printer can make was around 14 hours. I didn’t want to wait so I choose yet another resolution a bit toward the higher resolution but not quite the finest. 8 hours later i was holding a higher res version of the same piece. This time mouthpiece sounded much better. The finer resolution meant the facing curve and table have much smaller layers visible. The meant that the airy sounds was drastically reduced. The mouthpiece was much closer to the performance of the stock hard rubber S-80. I had no issues with intonation with the piece and it was quite reed friendly. It had the warmth and slight reediness you can get from a slightly too soft reed on a S-80. Over all i was impressed and so was the sax section ahead of rehearsal that evening.

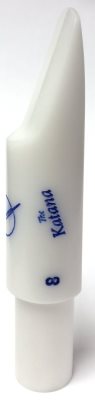
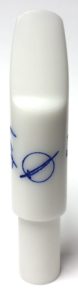 What do you get when combine the punch of a 0-SMS Berg and artisan-ship of a handmade mouthpiece? You get the AM Mouthpieces Katana. If you are familiar with it’s namesake then you know a katana is considered one of the best weapons to grace the battlefield. It’s sharp, durable and purposeful in it’s action. These were weapons of a warrior class and demanded practice and respect to wield it responsibly. Thankfully this mouthpiece doesn’t require much break in time for your embouchure so you’ll be able to start slicing through the mix with this well balanced musical tool.
 With that I reached out to Arnold Montgomery at
 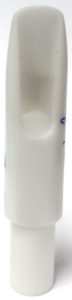 Tone
Tone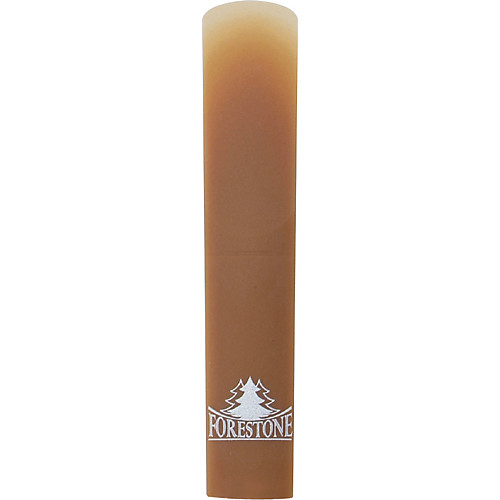
 What do you get when you combine 50% bamboo with a soft specially formulated resin? You get a pretty good reed that comes with a pain in the ass caveat. While being a mid priced contender in the synthetic reed category this brand may cost you more initially.
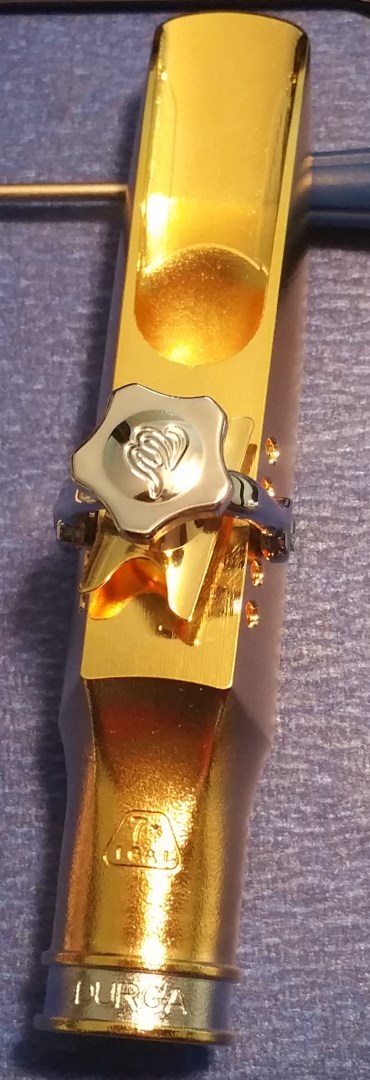
 “If you can afford this piece then buy it and I’m sure you’ll love it. If you can’t there are other great options at half this price. I am hoping that Theo will eventually replicate this design in hard rubber at 50% of the price. I’d buy it at $350 – 500.” –
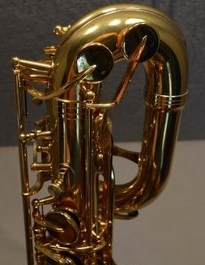
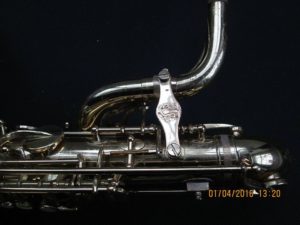 When you think vintage baritones what comes to mind? Most of us probably think of Conn 12m, Selmer Mark VI, Keilwerth made Couf’s, or King Super 20’s. These are all fine and good as I’ve owned at least one of each but my ears and heart love vintage Japanese horns. Whether it’s a Yamaha made Vito horn or the Japanese made Martin stencils from the other plucky horn maker Yanagisawa, the craftsmanship is undeniably better than cottage industry stuff from China today. While I am a fan of these horns would I recommend them? In a word, YES!
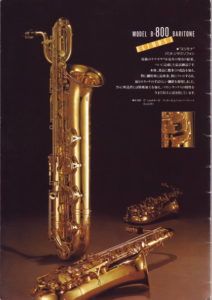
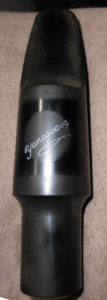 The site has had low output for the past few months as I recovered from some oral surgery. This left me unable to play the most lucrative gigs of the year for me but it had to be done when it was instead of the new year. Insurance deductibles, am I right?! Now that I’m back playing again I wanted to find a mouthpiece that was a bit smaller in tip opening so that my transition back into playing and rebuilding my embouchure would go well. For the rebuild process I choose a
  Reed Friendliness: I’ve found that once the appropriate reed strength has been found this mouthpiece will play well with any reed.